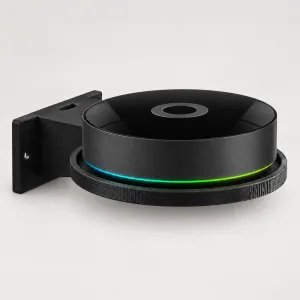
Mounting
Your Homey Pro on the wall rather than on a shelf
On a shelf, a Homey Pro sits among everything else, collects dust and runs warm. On the wall it gets air, the light ring stays visible and the cable is held in place.
MODUXO
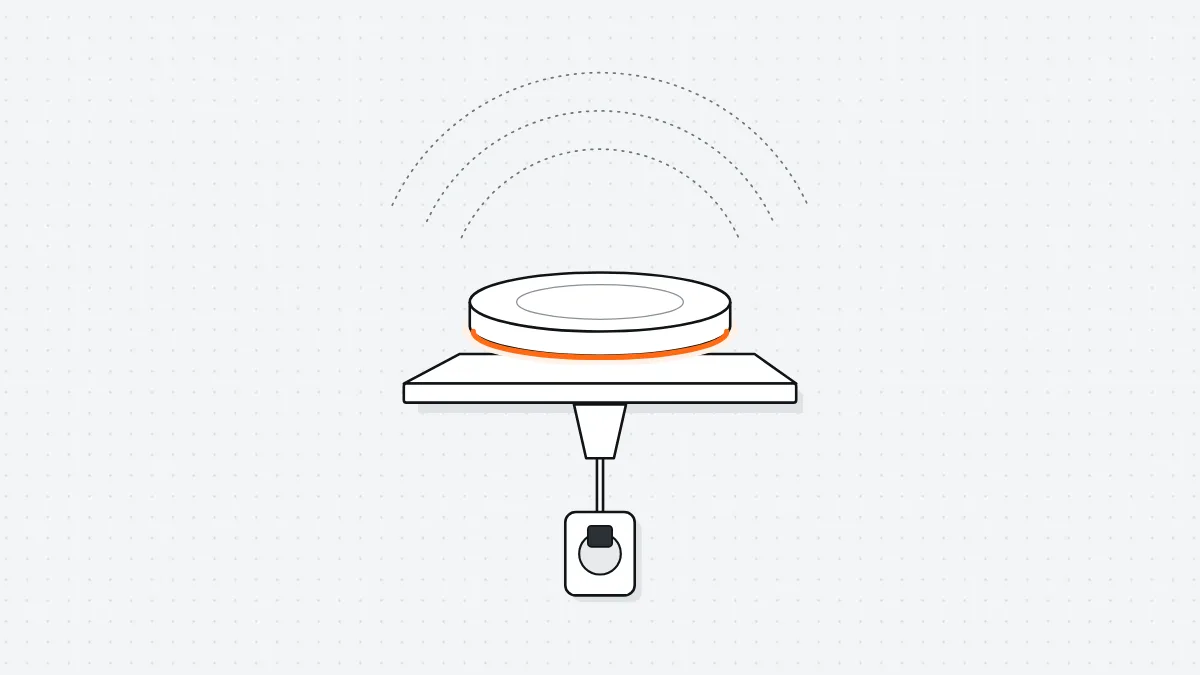
A Homey Pro is a flat, round device you put down somewhere, so it usually ends up on a shelf or in the meter cupboard along with everything else. That works, but it costs you range and the device runs warmer than it needs to. Put it on the wall and both problems sort themselves out.
Why the spot matters for range
The Homey Pro talks to your devices over Zigbee, Z-Wave and Wi-Fi. Those are radio signals, and they get blocked by exactly the things it tends to sit next to: a metal cabinet, a boiler, a water pipe, a mirror. A central spot at about one and a half metres high, away from metal, makes the biggest difference in practice — more than any setting in the app.
- The middle of the house beats a corner. The signal goes out in every direction.
- Not in the meter cupboard if you can avoid it. It's often the worst place you could pick: metal, concrete and no airflow.
- Not right next to your router. Keep them half a metre apart so the radios get in each other's way less.
- Off the floor. Down at skirting-board level or on a low cabinet, it sits in the shadow of your furniture.
Heat
The Homey Pro is cooled passively, through its housing. Wedged between books or shut away in a cabinet, that heat has nowhere to go. On the wall it has air all around it. Leave at least ten centimetres clear above the device, because warm air rises.
After an hour of running it should feel warm to the touch, not hot. If it's hot, it's too boxed in.
The light ring
The ring shows the status, and during setup you really do watch it. So hang the device where you can see the ring as you walk past, not up against the ceiling or behind a door that's always open.
The cable
Leave a loop of about ten centimetres just behind the device before you fix the cable in place. Without that slack, every adjustment pulls on the connector, and that's where it eventually fails. Then secure the cable with a Velcro strap or a clip, a little way below the holder.
Drilling
In plasterboard you need a cavity wall plug; an ordinary plug won't hold the weight of the device plus the cable in the long run. In brick, drill 6 mm and use a nylon wall plug. In wood, a 2.5 mm pilot hole is enough. If you're within thirty centimetres of a socket or switch, check with a cable detector first.